How-to
How to Install Running Boards: Tools, Mounting Points, Torque and the Real Drilling Exceptions
To install running boards, bolt the brackets loosely to your truck's factory mounting points, set the boards on the brackets, level them, then tighten everything. The sheets we read call for hand tools and, on most kits, a second person. A few kits need a drill, and power steps are a different job entirely. Your sheet overrules everything here.
Disclosure: This page contains affiliate links (marked with *). If you buy through them, we earn a small commission at no extra cost to you. As an Amazon Associate I earn from qualifying purchases. Learn more
Straight answer
Hang the brackets loose at the factory mounting points, attach the board, level it, then torque all hardware. Tyger's sheets list 15-16 ft-lbs for class 8.8 8mm bolts. Three Tyger sheets we read have no drilling step, one says drilling may be required, and RealTruck's GM power step calls for drilling through the pinch weld. Read the sheet for your part number first.
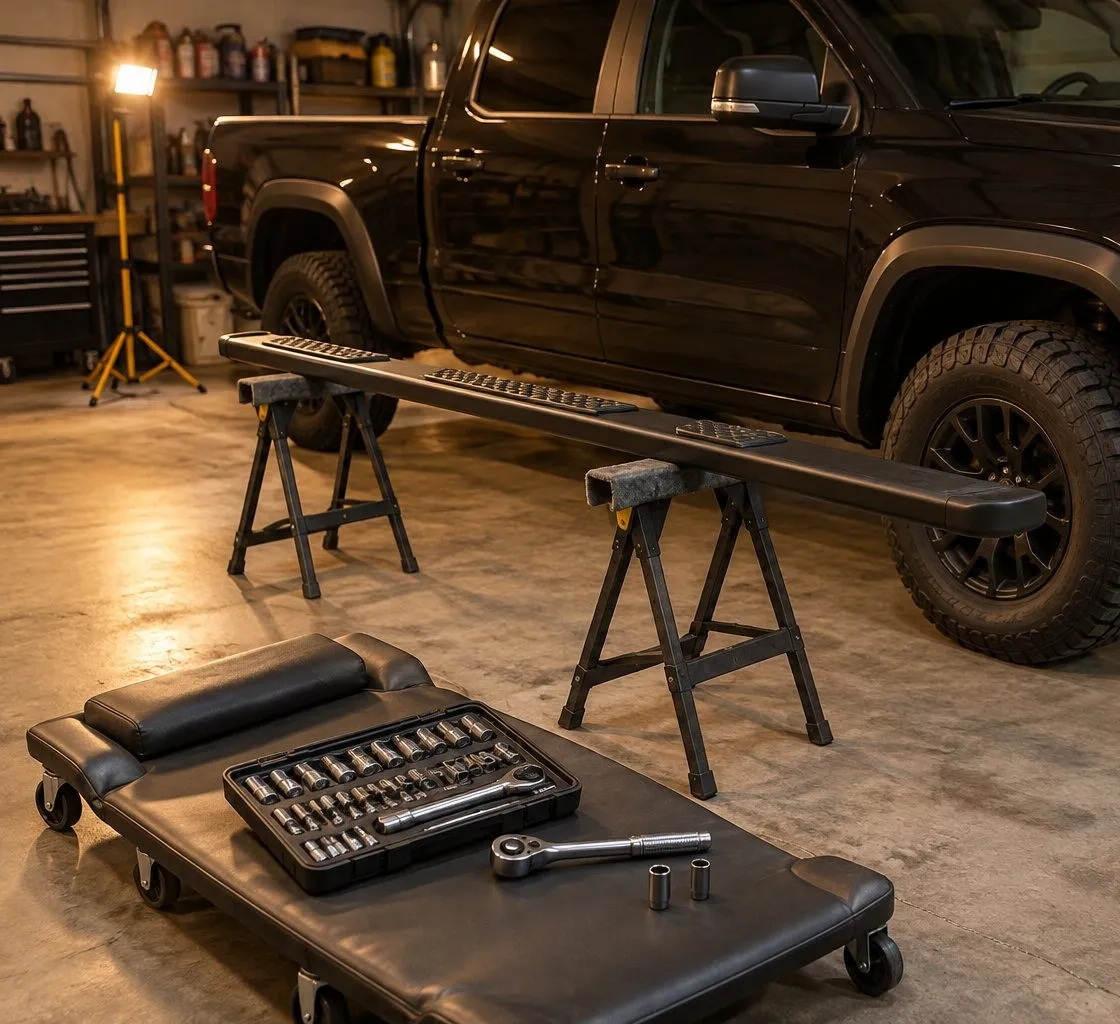
This page boils down five maker documents, read November 2, 2026. Nobody on this site has bolted these on a truck, so what follows is what the sheets say, not shop stories. The order of work is nearly the same across them. What changes is how the bracket grabs your truck, so start there.
Mounting points, by sheet
| Part, as named on the sheet | How it mounts | Brackets | Drilling |
|---|---|---|---|
| Tyger Rider TG-SS2C35068 | Threaded holes behind plastic plugs, plus a top location on the side of the body panel | 8 | No drilling step |
| Tyger TG-SS2D35098 | 3 factory studs per bracket on the inner sidewall of the body panel | 6 | No drilling step |
| Tyger Riser TG-RS6F60118 | Factory studs, with plastic retainers between the body and the steel brackets | 6, plus support brackets | No drilling step |
| Tyger Riser TG-RS2D40078 | Threaded inserts, or a bolt plate fed through an oval factory hole, plus the pinch weld | 6 | "DRILLING MAY BE REQUIRED" |
| AMP PowerStep 76255-01A | Motor and idler linkages bolted at the rocker seam | Linkages, not brackets | 19/64-inch holes through the pinch weld |
A sheet covers one part number. So get yours, either from the seller or from the part number in the title, before you buy tools. How to check a listing fits covers that first step. Other kits may mount differently, and Westin says its Pro-e uses vehicle-specific brackets with no drilling.
What to have on hand
The Tyger sheets we read print no tool list, so work it out from the hardware in your box. They use mostly 8mm bolts and nuts and end with a leveling step. Have these ready:
- Sockets for the hardware in your parts list, and a torque wrench that reads your sheet's values
- A wire brush or thread chaser die, which Tyger's stud-mount sheets name for clearing paint off studs
- A second person, which Tyger recommends
- A drill and the right bit, only if your sheet calls for one
The install
Check the box and read the sheet
Tyger says to verify all parts first, because failing to identify damage before installation could lead to a rejected claim. Photograph any damage or missing part.Find and clean the mounting points
On TG-SS2C35068 you pull the plastic plugs and thread a bolt into each insert to clear paint. On stud-mount kits you use a wire brush or thread die. On TG-RS2D40078 you peel off the sealing tape over the factory holes.Hang the brackets loose
Follow the sheet's positions. TG-SS2C35068 uses the 1st, 3rd, 4th and 6th holes. On the F-150 sheet, TG-RS6F60118, the plastic retainers go on first, and Tyger says not to install the brackets without them, because they prevent corrosion between the aluminum panel and the steel brackets. Leave the hardware loose.Set the board on the brackets
Find the correct side from the sheet's drawing. Set the board on top of the brackets. Do not slide or rotate it on them, since Tyger warns that can damage the finish. Start the combo bolts by hand.Level and torque
Level the board, then fully tighten all the hardware to your sheet's values.Drill only if your sheet says so
On TG-RS2D40078, some models without pinch weld holes need two 1/4-inch holes for each support bracket. Finish the install and level the step first, then mark the slots and drill at their center, not too close to the bottom edge of the pinch weld.Repeat on the other side and recheck later
Do the other side the same way. The Tyger sheets close on the same line: inspect periodically and make sure all hardware stays secure and tight.
Brackets are not always interchangeable. Tyger says all 6 on TG-SS2D35098 fit either side, while on TG-RS2D40078 the front bracket differs from the center and rear ones, so check the drawing on page 1 of your sheet.
Torque values
Tyger prints this table on TG-SS2C35068, TG-SS2D35098 and TG-RS6F60118. The mounting hardware in those parts lists is 8mm, so that is the line to read. The TG-RS2D40078 pages we read print no torque table, so ask the seller for that one.
| Fastener | Class 8.8 | Class 10.9 |
|---|---|---|
| 6mm | 6-7 ft-lbs | 6-7 ft-lbs |
| 8mm | 15-16 ft-lbs | 22-23 ft-lbs |
| 10mm | 31-32 ft-lbs | 44-45 ft-lbs |
The steps do not say which class your bolts are, so check the hardware, and ask the seller if you cannot tell. These numbers are Tyger's for Tyger kits. If your sheet has its own table, use that one.
Power steps are a different job
Everything above is for fixed steps. RealTruck's guide for the AMP PowerStep 76255-01A states 3-5 hours, skill level 4 and professional installation recommended, on the 2022-2026 Silverado and Sierra 1500. The fasteners are their own values too: 16 ft-lbs for the linkages, 10 ft-lbs for the board fasteners and 36 in-lbs for the motor screws. Then you wire a controller, route a harness away from the exhaust and steering, tap two wires, plug into the OBD II port and drill for the lights. Power running boards has the rest, and that is the part to weigh before you decide to do it in your driveway.
Mistakes to avoid
- Tightening as you go. Each sheet leaves the hardware loose until the board is level.
- Drilling before leveling. On TG-RS2D40078, the holes come last, and that is the point of the warning.
- Trusting "no-drill" in a title. Check it against your sheet, since can you install running boards without drilling sorts it by part.
- Skipping the plastic retainers on an aluminum body. Tyger says not to, in capitals.
- Forgetting your warranty. Do running boards void your warranty separates fitting a board from damage the board or the install causes. Ford says the second is not covered.
Which part makes this easy to plan
Pick a part whose sheet you can read before you pay. For a 2019-up GM crew cab, this is the rail with the sheet the steps above lean on most.
Tyger Auto
Tyger Rider 3.5" (2019+ GM)
A 3.5-inch rail whose title names the Silverado and Sierra years, the HD split and the cab.
Why here: Its title gives a part number, and that part number leads to a readable sheet with 8 brackets and no drilling step.
- Fits, according to the listing
- 2019-2026 Chevy Silverado GMC Sierra 1500; 2020-2027 2500 3500HD | Crew Cab (as of November 2, 2026)
- Style
- Rail / nerf bar (as titled)
- Material
- Not stated in the title
- Weight rating
- Not stated in the title
- Install
- Bolt-on with 8 brackets; no drilling step in the sheet; assistance recommended
- Price class
- Mid-range
Check your exact year and cab on the listing before you buy.
Why it makes the list
- The part number in the title (TG-SS2C35068) ties the listing to Tyger's own instruction sheet
- That sheet bolts 8 brackets to threaded holes behind plugs in the rocker area and has no drilling step
- Title separates the 1500 years from the 2500/3500HD years
Watch out for
- 3.5 inches wide per the title, narrower than the 6-inch boards
- No weight rating in the title, so none is printed here
- The title does not mention the 2019 LD/Limited; a sister Tyger listing groups that truck with the older body, so check before ordering
Best for: Crew cab owners on the 2019-up GM full-size who want a rail with a readable install sheet.
Other trucks have their own: the Tyger Rider for the new-body Ram 1500*, the Tyger Riser for the F-150 SuperCrew*, and the Tyger Riser for older Ram crew cabs*, which is the one with the drilling note. Some cheaper listings, such as the aluminum crew step for the older Ram*, come with no sheet we could read, so ask the seller first. Check your exact year and cab on the listing before you buy.
If the job is more than you want, how much it costs to install running boards covers paying a shop. For the wider field by truck, go to best running boards.
Sorting out your mounting parts? Running board brackets covers them, running board pads covers worn step surfaces, and how to remove running boards covers taking them off.
Tailgate questions
Can I install running boards myself?
On a bolt-on fixed kit, the sheets we read assume you can: brackets, bolts and a level, with Tyger recommending a second person. On a power step, think harder. RealTruck rates its 2022-up GM PowerStep skill level 4, Experienced, and recommends professional installation. Nothing on this site comes from an install of our own, so read your sheet and decide.
How long does it take to install running boards?
We print a time only where a maker does. RealTruck states 3-5 hours for the AMP PowerStep 76255-01A. The Tyger sheets we read give no time at all. The minute counts you see in AI answers and on guide sites had no maker source behind them, so plan by reading your own sheet.
How tight should running board bolts be?
Use your sheet's torque table. Tyger's sheets list 15-16 ft-lbs for 8mm class 8.8 fasteners and 22-23 ft-lbs for 8mm class 10.9. RealTruck's guide for one GM power step gives 16 ft-lbs for the linkages and 10 ft-lbs for the board fasteners. Those values belong to those parts, so do not carry them over to another kit.
Do you have to drill to install running boards?
Sometimes. Tyger's sheets for TG-SS2C35068 and TG-SS2D35098 have no drilling step. Its sheet for TG-RS2D40078 says drilling may be required, and that some models without pinch weld holes need 1/4-inch holes. RealTruck's guide for its GM PowerStep calls for 19/64-inch holes. The kit and your truck decide.
Where this comes from
- Tyger Auto instruction sheet TG-SS2C35068 (PDF hosted by CARiD)
- Tyger Auto instruction sheet TG-SS2D35098 (PDF hosted by CARiD)
- Tyger Auto instruction sheet TG-RS6F60118 (PDF hosted by CARiD)
- Tyger Auto instruction sheet TG-RS2D40078 (PDF hosted by CARiD)
- RealTruck AMP Research installation guide IM76255 (PDF)
- Westin Automotive: Pro-e power running boards
Keep reading
- Question & answerCan You Install Running Boards Without Drilling? The Parts and Years That Still Need HolesMany running boards bolt on with no drilling, but not all. Which maker sheets have no drilling step, and which Tyger, AMP and Carr parts call for holes.
- Question & answerHow Much Does It Cost to Install Running Boards? What the Job Actually TakesThe cost of installing running boards comes down to the job: tools, wiring, drilling and skill. What maker sheets ask for, and when to hand it to a shop.
- ComparisonBest running boardsThe best truck running boards are the ones listed for your year and cab. Our picks by truck and use, with no lab scores, only published fit and maker sheets.
- Question & answerDo Aftermarket Running Boards Void Your Truck's Warranty? What the FTC, Ford and Ram SayDo running boards void a truck warranty? What the FTC, Ford and Ram's own booklet state, what stays uncovered if a part does damage, and what we could not read.
- Buying guidePower running boardsPower running boards come out with the door and fold away after. See which trucks each listing names, what the install takes and which load figures hold up.
- How-toCheck a listing fitsCheck any running board listing against your truck in seven steps: year, cab, exclusions, part number and maker sheet. Real title traps, and what to ask the seller.
Who writes this
runningboardsfortrucks.com Editorial Team
Fitment, buying advice and explainers
We are the editorial team at runningboardsfortrucks.com. We read listing titles, maker pages and instruction sheets, then write down which truck, year and cab each one states and where we read it. We do not run lab tests and we do not own a test fleet, and we say so openly.
- Fit quoted from the listing or maker
- Sources and dates on every page
- No lab tests, stated openly
- Publisher details in the imprint